Cataglyphis
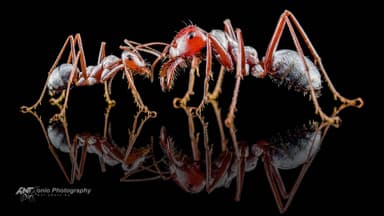
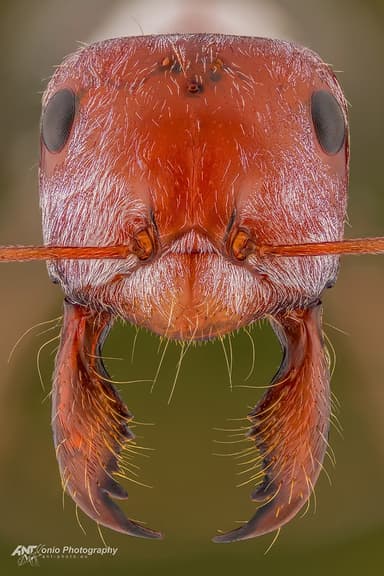
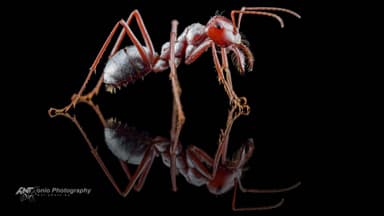
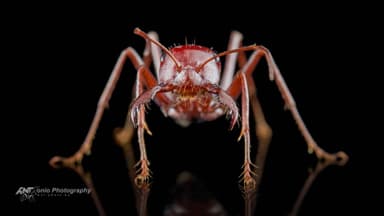
Cataglyphis bombycina
Nuptial Flight Calendar
Flight months: Apr, May, Jun, Jul, Aug
Care Guide
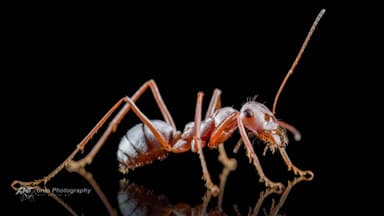
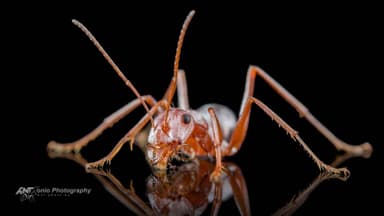
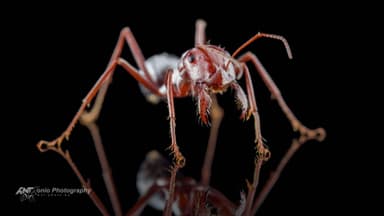
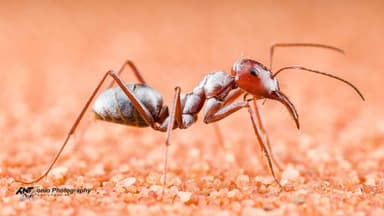
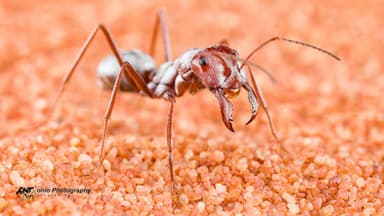
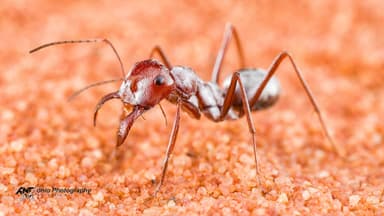
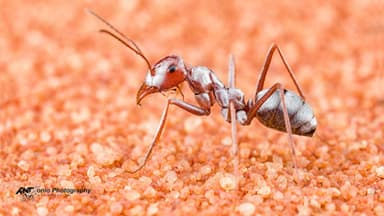
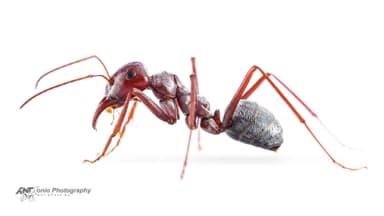
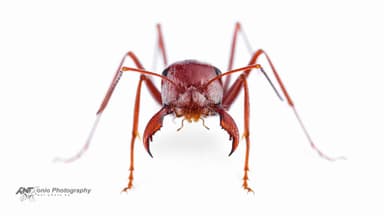
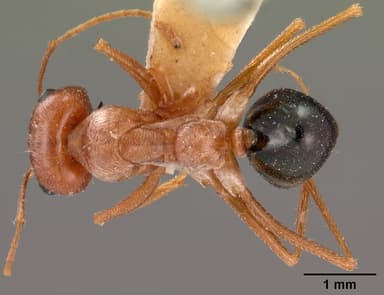
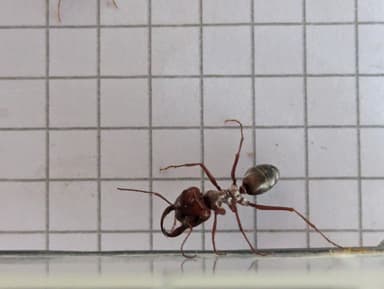
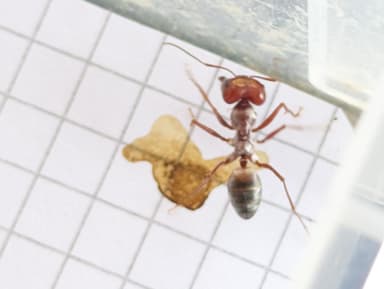
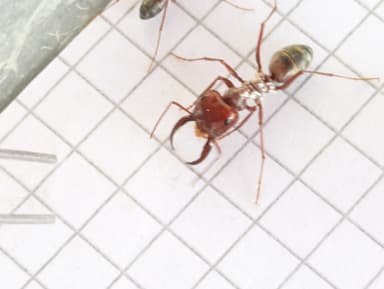
Few ants capture the imagination quite like Cataglyphis bombycina, the Saharan silver ant. These desert specialists are instantly recognizable by their gleaming silvery hairs, which reflect sunlight and help them survive in the most extreme terrestrial heat on Earth. Queen size ranges from 12 to 15 mm, while workers are highly polymorphic, dividing into minor, media, and major castes that span 6 to 14 mm. A mature colony can house up to 10,000 individuals, all founded claustraly by a single queen. What truly sets C. bombycina apart is its suite of physiological and behavioral records: it is the fastest ant on the planet, capable of blistering speeds documented by Pfeffer et al. (2019), and it forages in surface temperatures that can exceed 50°C, a thermal threshold that would kill most other organisms (Shi et al. 2015). Their legendary navigational abilities, studied extensively in related species by Wehner (1983), allow them to travel far from the nest and find their way back with remarkable precision. This ant is a living testament to the power of evolutionary adaptation, and its care in captivity is a challenge reserved for the most dedicated and experienced keepers.
Make no mistake: C. bombycina is an expert‑only species. The extreme environmental demands alone place it far outside the reach of beginners or even intermediate hobbyists. Maintaining a hot, bone‑dry microhabitat that still provides a stable thermal gradient requires precise equipment and constant monitoring. The ants are also exceptionally fast, escape‑prone, and unforgiving of missteps in humidity control—excess moisture can quickly lead to fungal outbreaks or drowning. This species suits the seasoned myrmecologist who relishes a technical challenge and already has experience with delicate desert‑adapted ants. It is not a colony that can be left unattended for long periods, and the failure to provide a continuous heat source, typically a spot reaching 45–50°C, will rapidly result in colony decline. In return, the dedicated keeper is rewarded with a front‑row seat to one of nature’s most extraordinary biological spectacles.
Housing must revolve around heat and aridity. The ideal setup is a dry nest, often a plaster or ytong formicarium with minimal water penetration, paired with a well‑ventilated foraging arena. A deep layer of fine sand is essential; these ants are natural diggers and will readily excavate shallow tunnels if given the chance, though many keepers opt for a pre‑formed nest chamber that remains completely dry. Temperature is the critical parameter: the nest requires a gradient running from 28°C in the cooler zone to a basking spot of 50°C. This can be achieved with a carefully modulated heat lamp or an under‑tank heater positioned on one side of the nest, but absolute vigilance is necessary to prevent overheating the entire enclosure. Humidity must stay between 20% and 50%, and it is better to err on the lower side. Any condensation is a serious threat; even a small droplet on an internal wall can fatally trap a worker. The size of the nest should be expanded slowly as the colony grows, but for a founding queen and her first brood, a tiny, warm, dark chamber fashioned from a dry test tube partially filled with sand will suffice.
Dietary management in Cataglyphis bombycina follows typical ant patterns but with a critical twist: water provision must be extremely cautious. Protein in the form of freshly killed insects—small crickets, fruit flies, or mealworm pieces—should be offered regularly, and carbohydrates can be supplied as a tiny drop of honey or sugar water on a piece of foil, removed within hours to prevent mold in the arid heat. Remarkably, the ants meet much of their water requirement from their prey, and a separate water source is often unnecessary; if provided, it should be a micro‑capillary feeder or a cotton‑plugged tube that offers only the faintest humidity without free liquid. Overfeeding must be avoided, as decaying organic matter attracts mites and releases moisture. Because C. bombycina evolved in a food‑scarce desert, colonies can be fed two to three times per week, but during active brood‑rearing phases they may benefit from daily small offerings. Hibernation is entirely absent from their annual cycle. The colony remains active year‑round given appropriate warmth, and no cooling period is ever needed. Attempting to impose a winter diapause will only weaken and eventually kill the colony.
When your C. bombycina queen and her first workers arrive, the transition is a delicate moment. Settle them into a pre‑heated, pre‑dried nest immediately; the target temperature should be established before the ants are introduced. For the first 48 hours, resist the urge to observe them more than fleetingly—cover the nest with dark material to reduce stress. Offer a single tiny insect fragment and perhaps a micro‑drop of sugar water on the very first day, but do not be alarmed if the ants ignore it; they are still acclimating. Watch for any signs of escape, especially in the first hours, as Cataglyphis workers are astonishingly fast and can scale smooth surfaces more adeptly than many species. The critical failure points to monitor are overheating (if the heat source malfunctions) and the presence of any moisture within the nest. Under correct conditions, the queen will soon begin laying eggs again, and the workers’ frantic desert‑foraging behavior will, in miniature, grace your care. With infinite patience and a flawless thermal setup, you may witness firsthand the silver flash that makes this ant one of the natural world’s true marvels.