Polyergus
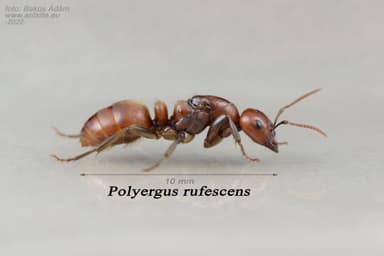
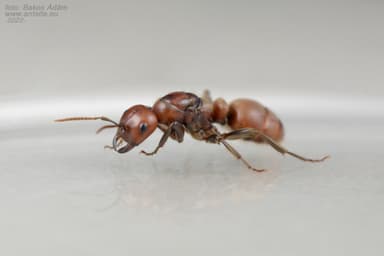
Polyergus rufescens
Nuptial Flight Calendar
Flight months: Jul, Aug, Sep
Care Guide
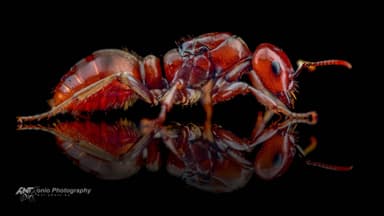
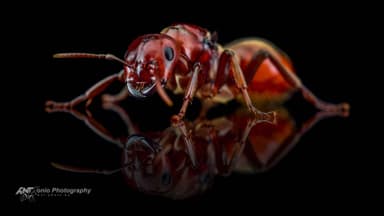
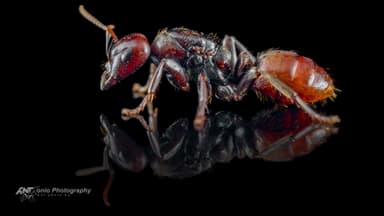
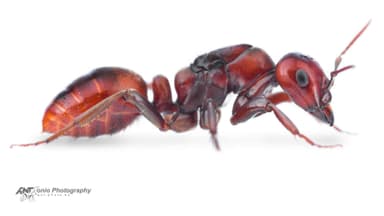
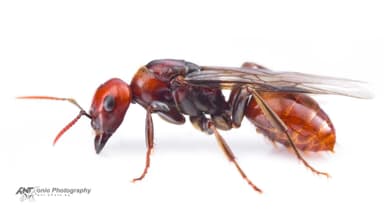
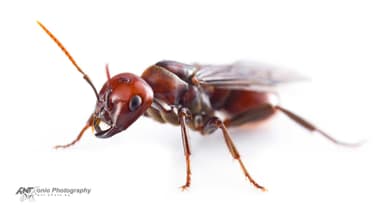
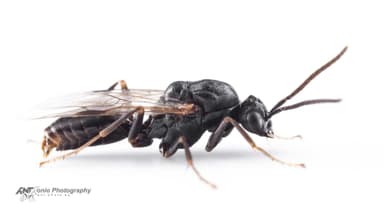
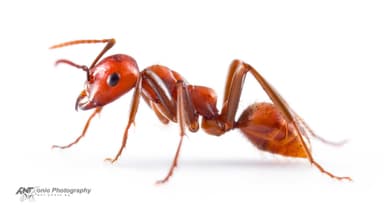
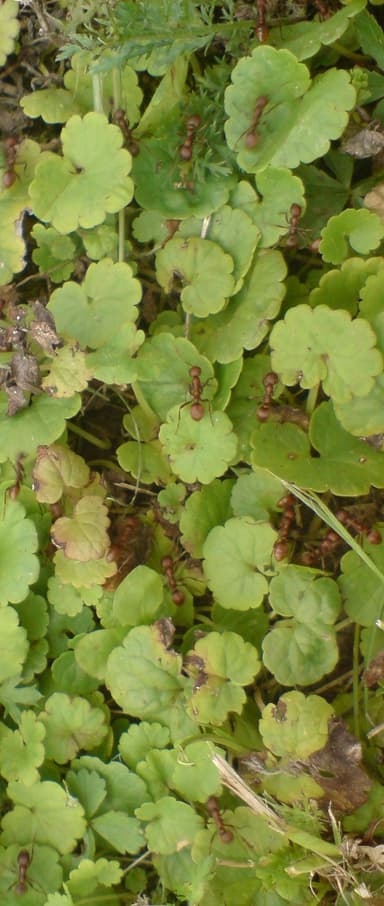
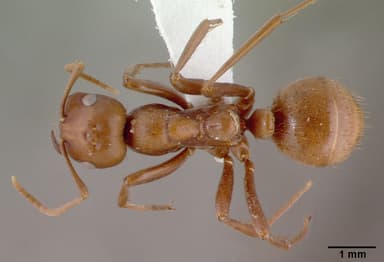
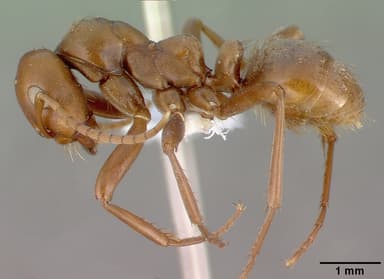
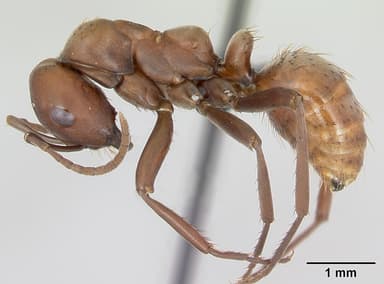
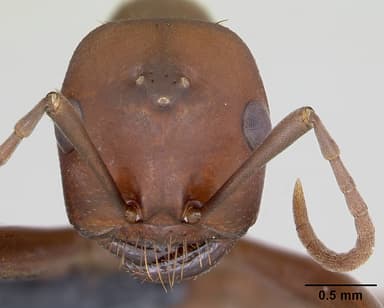
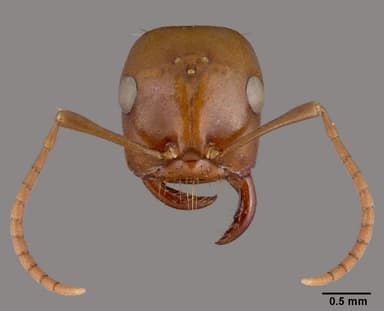
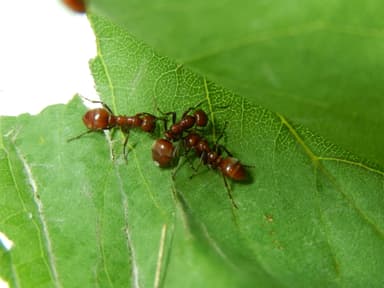
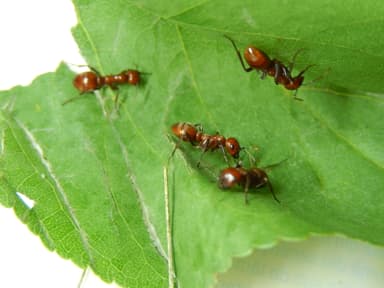
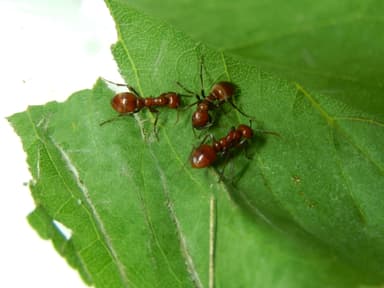
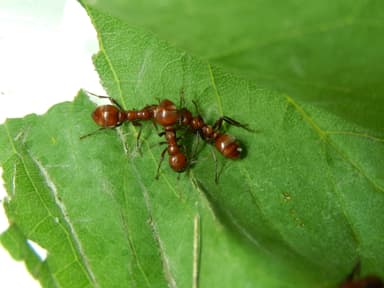
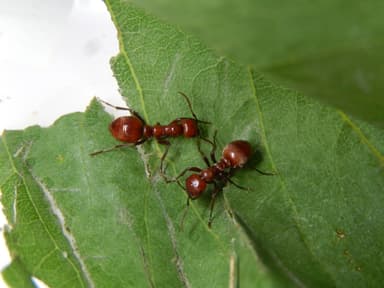
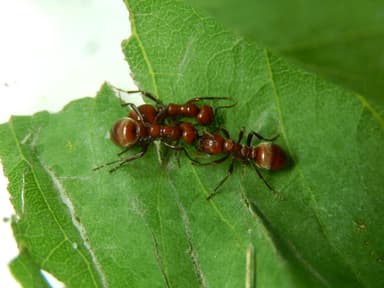
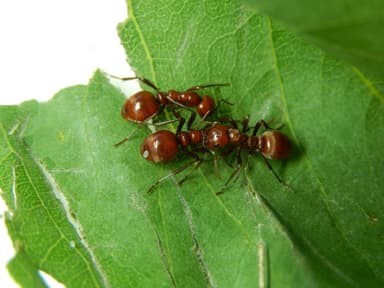
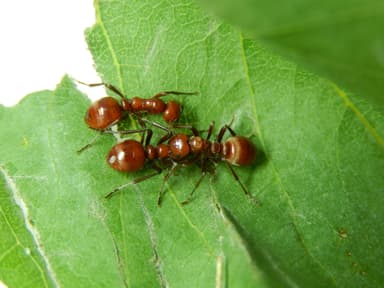
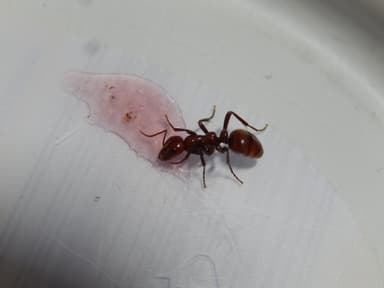
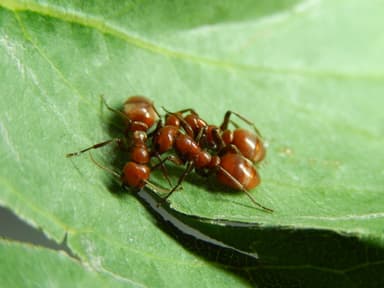
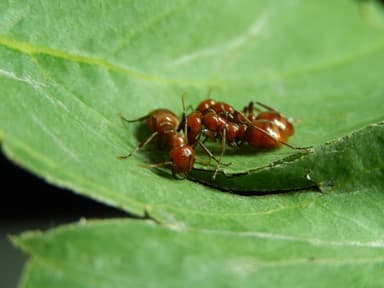
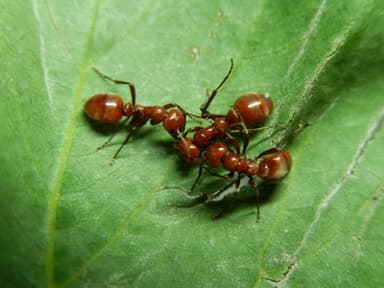
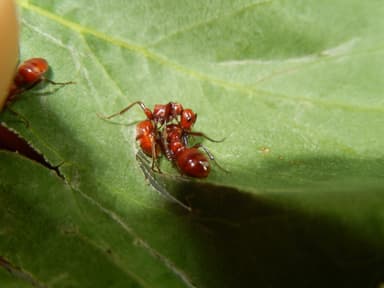
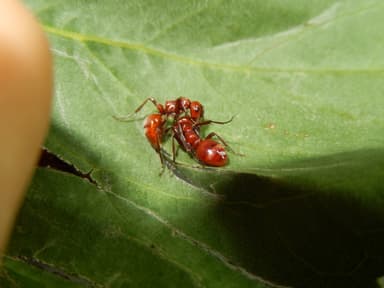
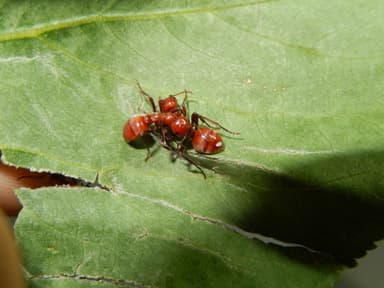
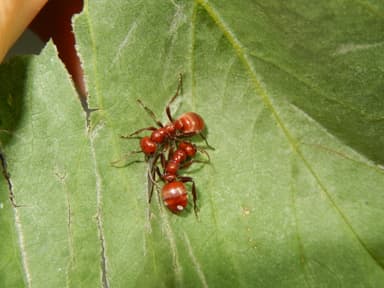
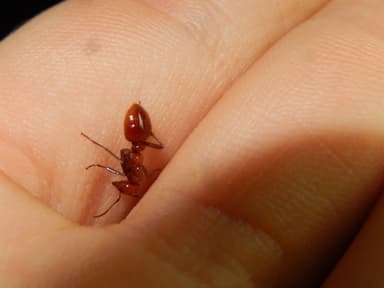
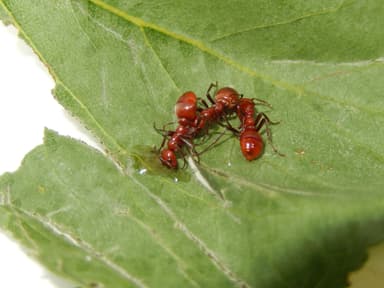
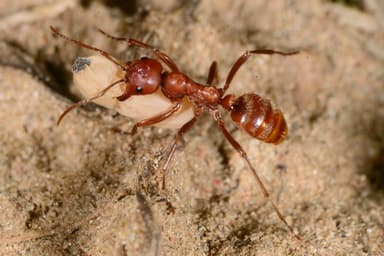
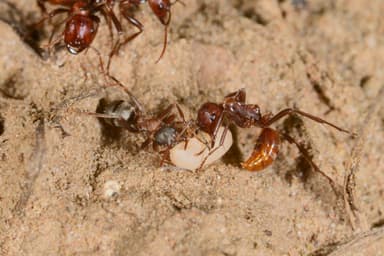
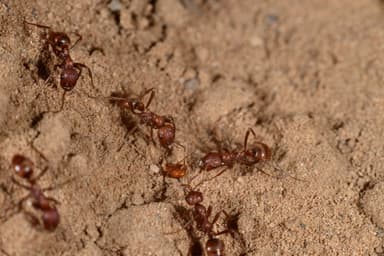
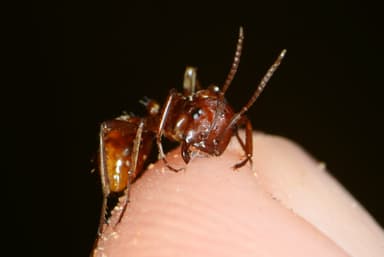
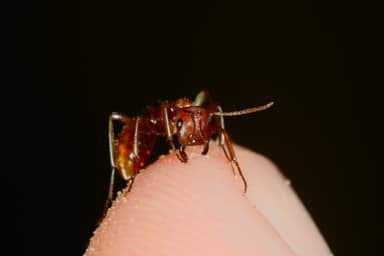
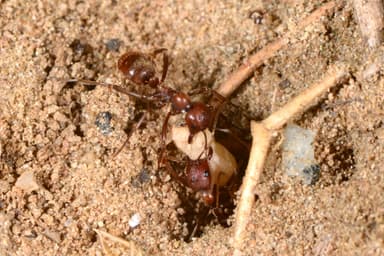
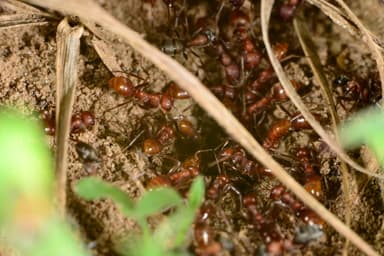
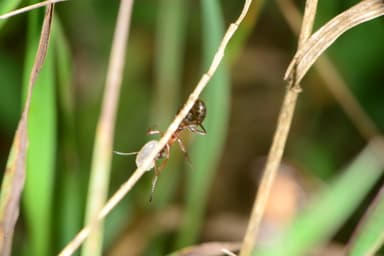
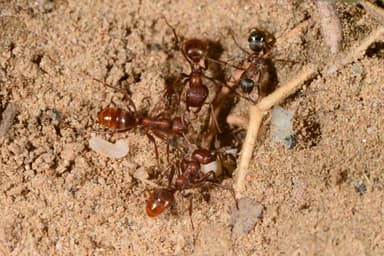
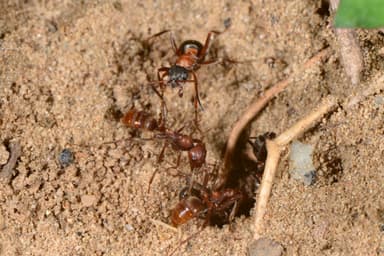
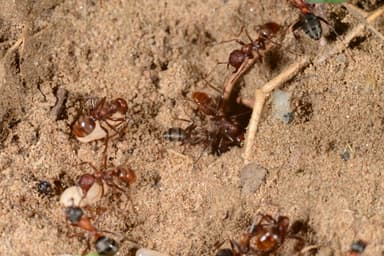
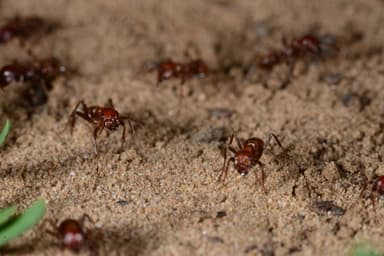
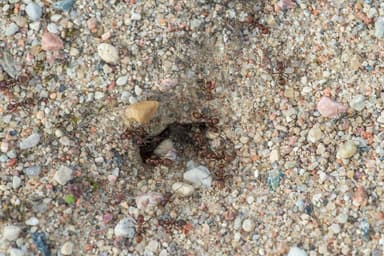
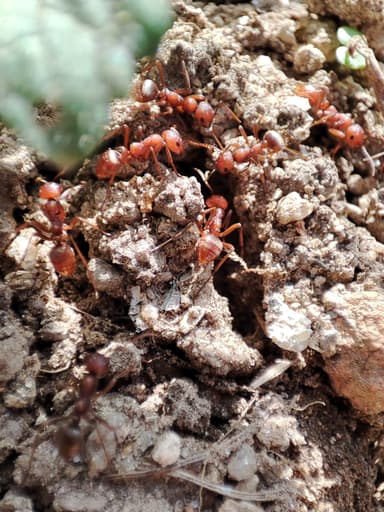
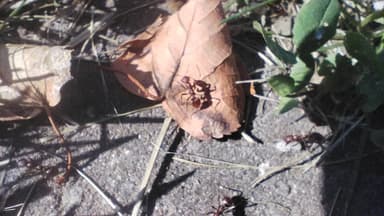
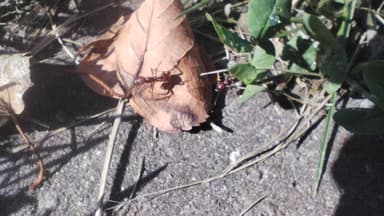
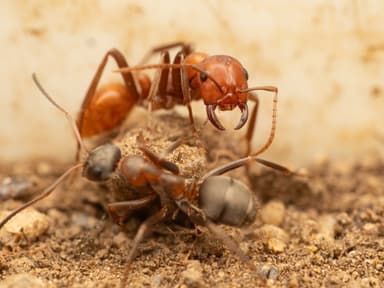
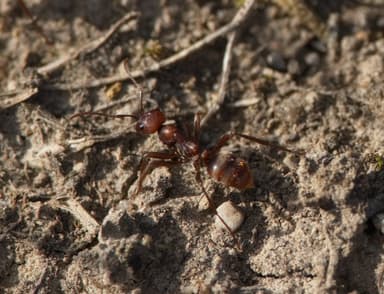
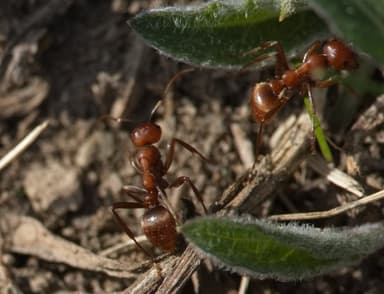
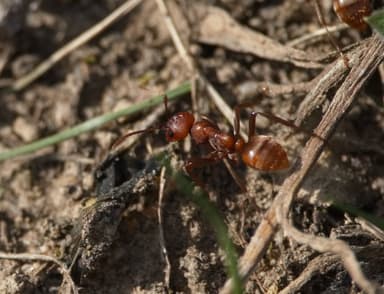
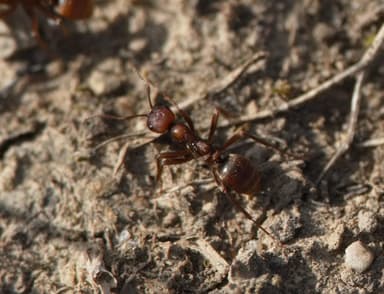
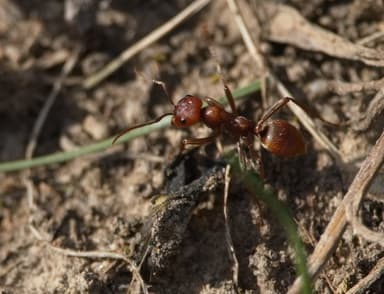
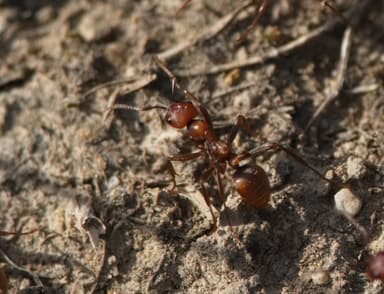
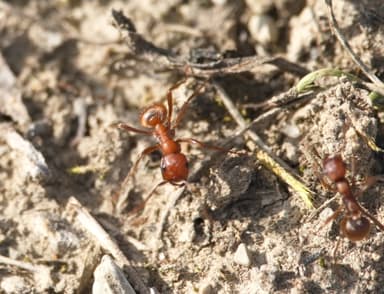
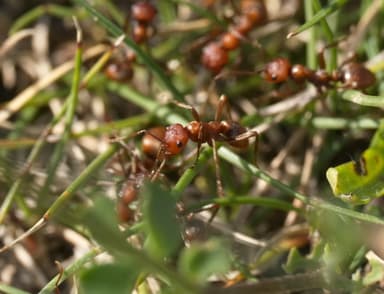
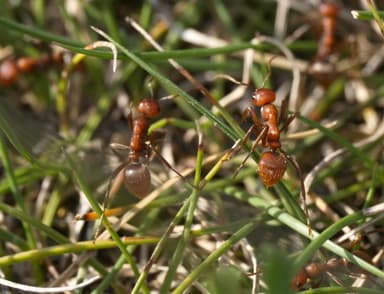
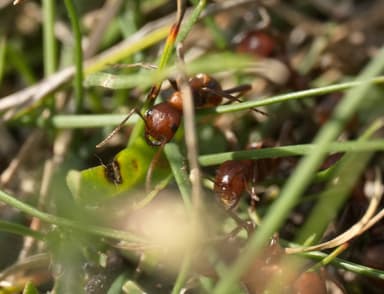
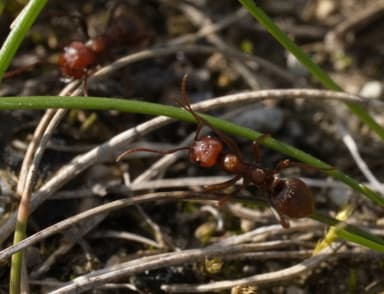
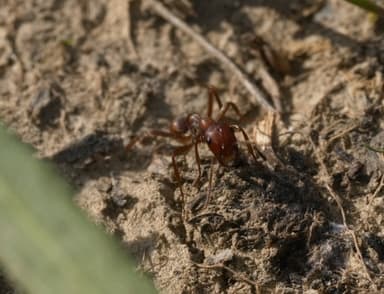
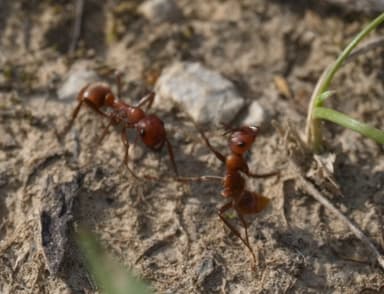
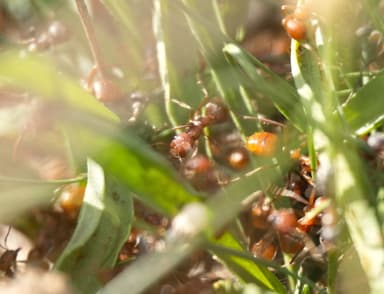
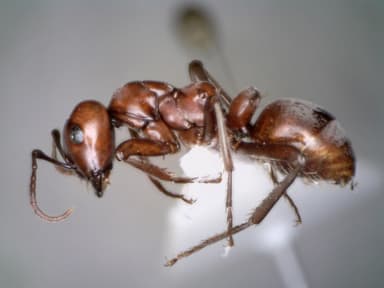
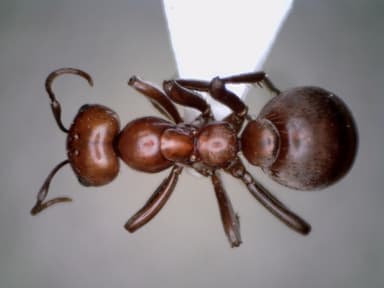
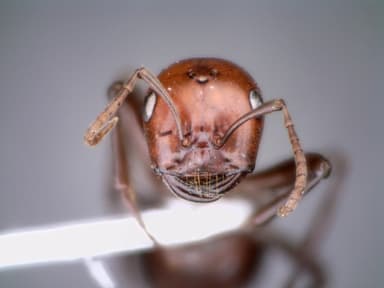
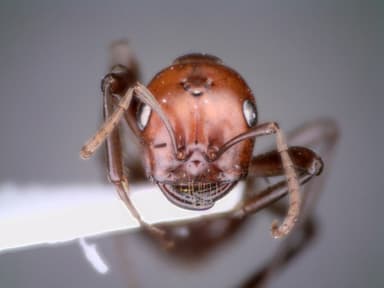
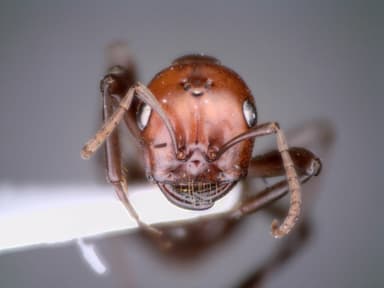
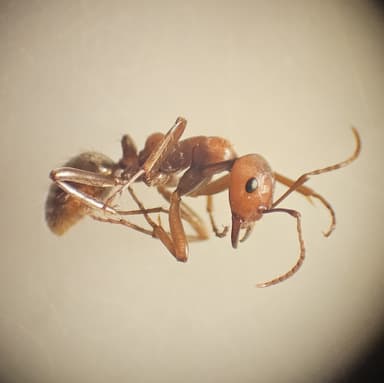
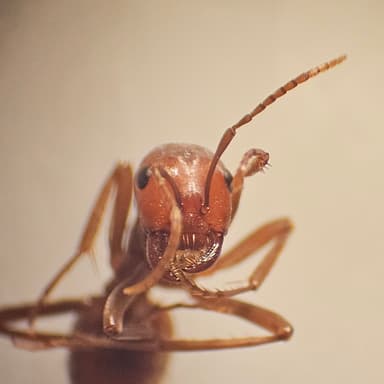
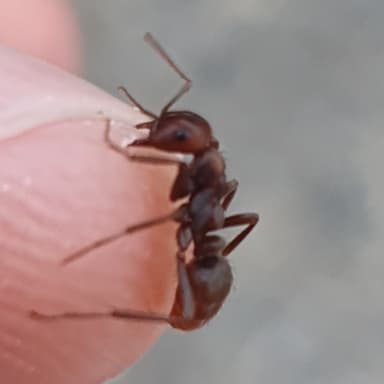
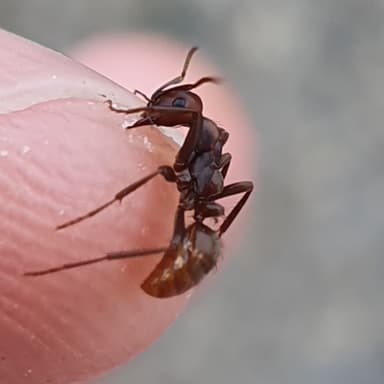
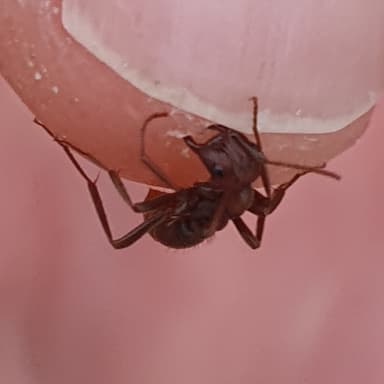
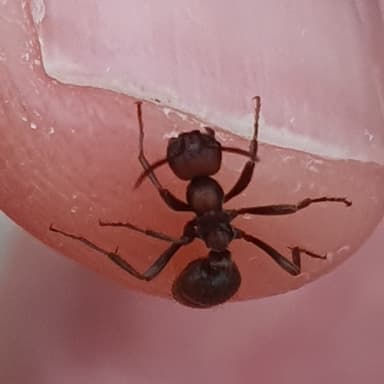
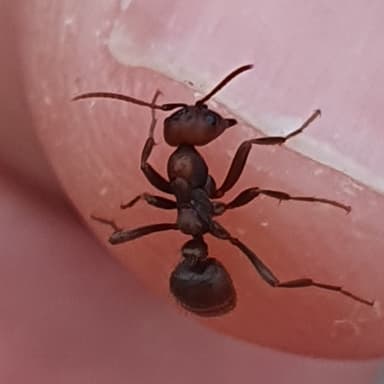
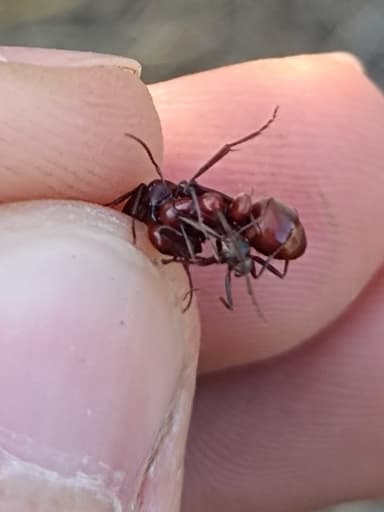
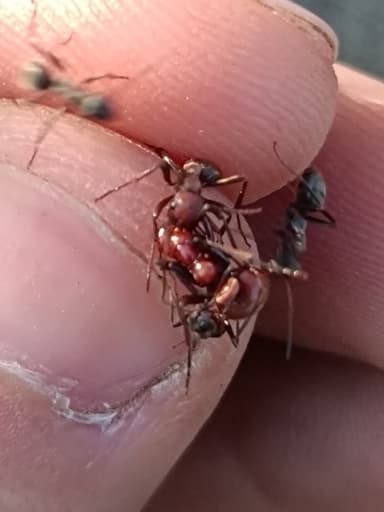
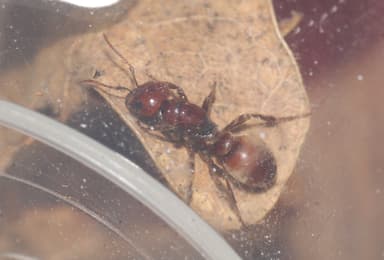
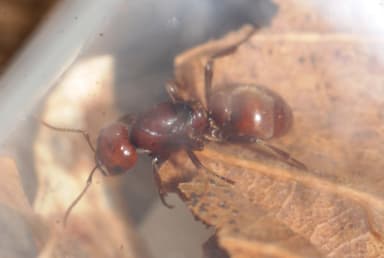
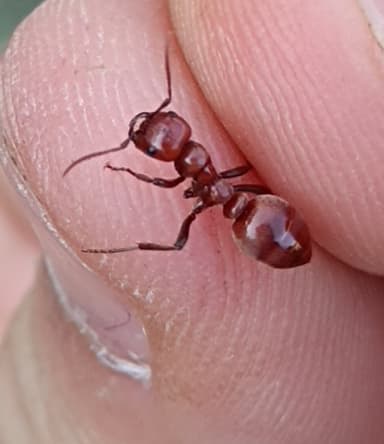
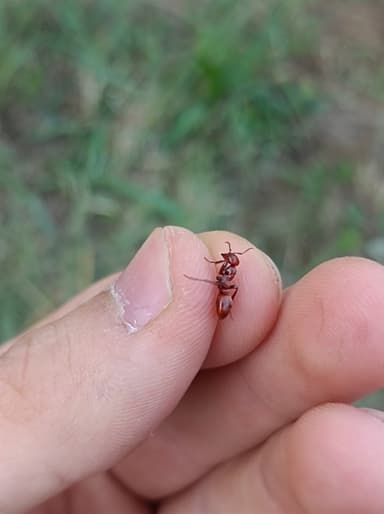
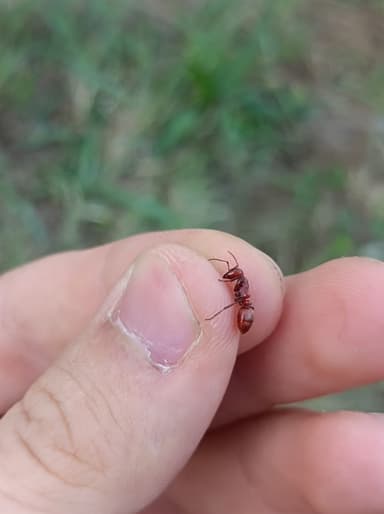
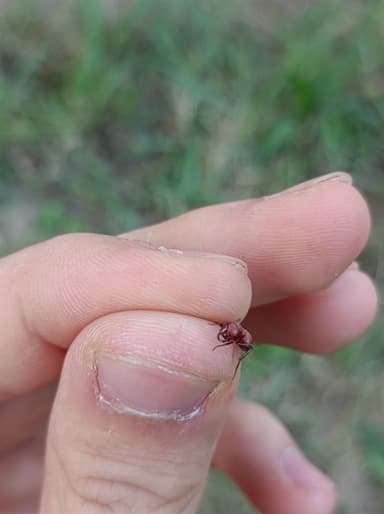
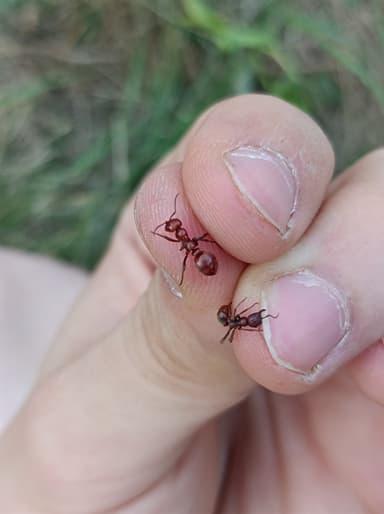
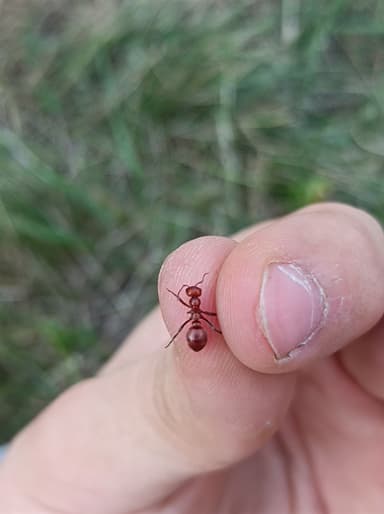
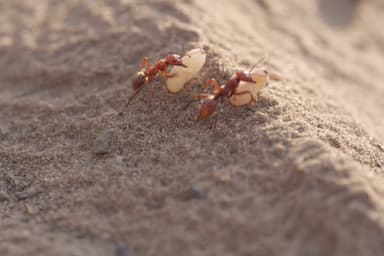
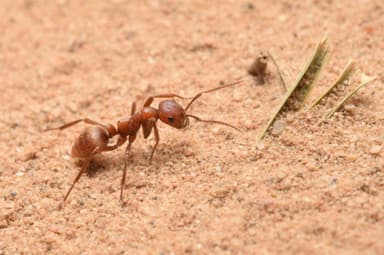
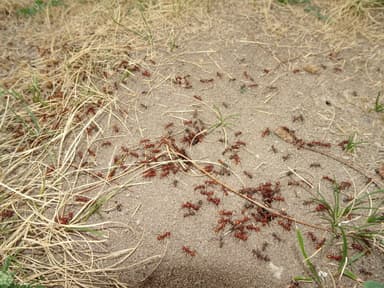
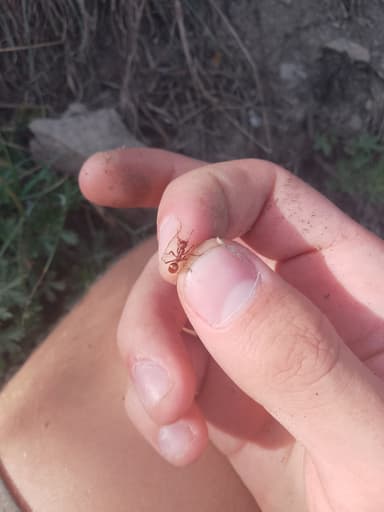
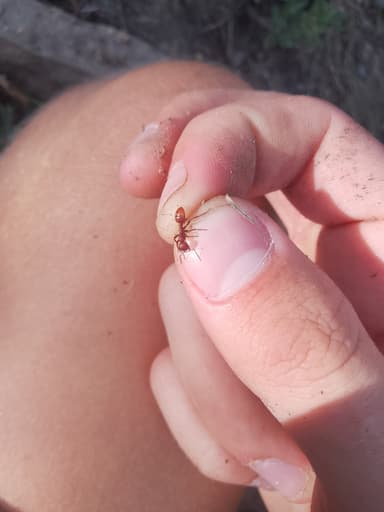
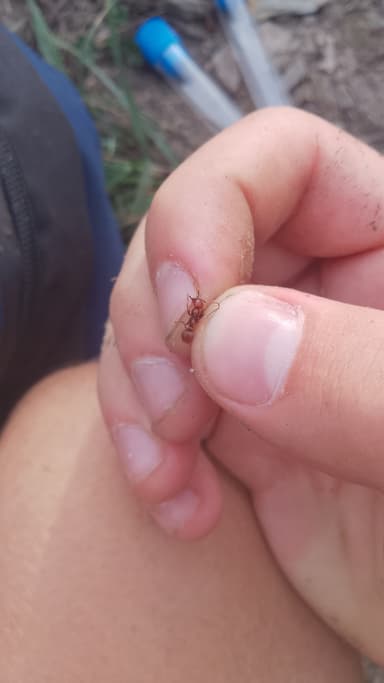
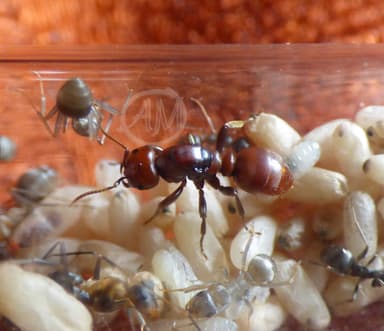
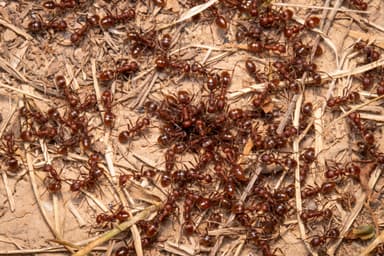
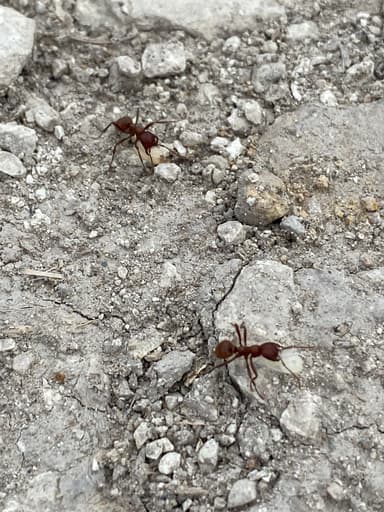
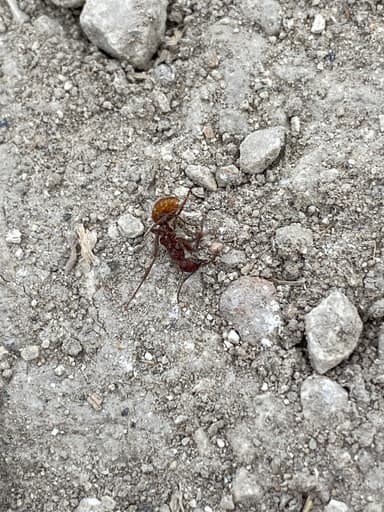
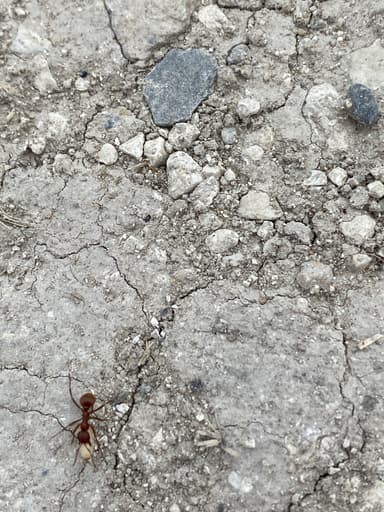
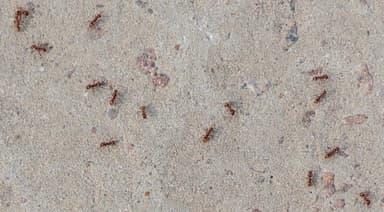
Polyergus rufescens, the European Amazon ant, is an obligate social parasite renowned for its dramatic slave raids. Workers are uniformly small at 5.5 to 7 mm, while the queen measures a robust 9 to 11 mm. The entire colony, which may reach up to 3,000 individuals, is composed solely of a single minor‑worker caste, their rust‑red to deep reddish‑brown bodies giving the species its name. Across its extensive range through central and southern Europe, from the Iberian Peninsula to the Urals (Seifert 2018), this ant cannot perform even the most basic tasks of foraging, brood care, or nest construction. Instead, it relies entirely on a workforce of enslaved Formica ants, typically of the fusca group, captured as pupae during summer raids (Mori et al. 2001). Their sickle‑shaped mandibles are exquisitely adapted for piercing defenders’ heads rather than for carrying food. Nuptial flights occur on warm, sunny afternoons in July and August, often after a successful raid, when alates emerge to mate and found new colonies through the usurpation of host colonies (Czechowski et al. 2002). Observing a Polyergus colony reproduce this intricate interplay in captivity is perhaps the most thrilling challenge myrmecology can offer.
Unsurprisingly, keeping Polyergus rufescens is only appropriate for expert ant keepers. The difficulty arises from the absolute dependence on a constant supply of host workers and brood. A keeper must simultaneously maintain a thriving, robust colony of a suitable slave species—most commonly Formica fusca or Formica cunicularia—and orchestrate the periodic transfer of pupae. Even minor errors in host population management can quickly collapse the parasitic colony. This is not a species for casual observation; it demands deep knowledge of Formica husbandry, rigorous monitoring, and a willingness to sacrifice the brood of one colony to sustain another. Nevertheless, for those with the requisite experience and a keen interest in social parasitism, P. rufescens provides an unparalleled window into the evolution of exploitation, exactly as detailed in classic ethological studies (Mori et al. 2001).
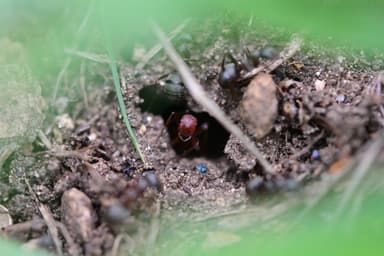
In captivity, the living arrangement typically involves a dedicated formicarium for the Polyergus colony and its slaves, with a second, larger setup for the host species from which pupae are harvested. The Polyergus nest should replicate a subterranean environment: a plaster, ytong, or dirt‑based cavity kept at a stable temperature between 20 and 28°C and relative humidity of 50 to 70%. Substrates of sand mixed with clay allow for natural tunnel construction by the slaves. Because the parasitic workers cannot drink on their own, a water source accessible to the slave workers—such as a test tube with a cotton plug—is essential. The outworld must be spacious and securely lidded, for the ants are active and will search for exit points. When a “raid” is simulated by introducing host pupae, the slaves will open cocoons and rear the callow workers, seamlessly integrating them into the workforce.
Polyergus rufescens adults never consume solid food directly. All nutrition is obtained by soliciting regurgitation from slave workers through trophallaxis. Thus, the keeper’s role is to feed the slaves an appropriate diet, which they will process and share. Supply the captive host workers with a carbohydrate source, typically organic honey diluted to a syrupy consistency or a sugar‑water mixture, and protein in the form of freshly killed insects such as crickets, fruit flies, or mealworms. The slaves carry these items back, feed the larvae, and then pass liquid proteins and sugars to the Polyergus. Without a well‑nourished slave force, the parasitic queen’s egg production drops and worker deaths accelerate, so a steady, high‑quality diet for the slaves is non‑negotiable.
Like most temperate ants, P. rufescens requires a stringent hibernation period. Laboratory and field data consistently show that a constant temperature around 8°C for three to five months is optimal (Seifert 2018). In practice, the whole colony—slaves and all—must be slowly transitioned from autumn conditions to a dark, cool refrigerated space, such as a wine cooler, by late October. A small water source must remain available to prevent desiccation. Even minor interruptions or insufficient cooling will break diapause, causing the queen to cease reproduction and dramatically shortening worker lifespan. Come early March, the colony is gradually warmed back to nest temperatures, at which point the queen will resume laying and slave workers will renew foraging.
Upon acquiring a founding queen or small colony, preparation is key. You should already have a host species colony with abundant pupae ready to donate. Gently introduce the queen and her retinue of a few slave workers into the prepared formicarium, ensuring a drop of honey water is within easy reach for the slaves to feed their mistress. Keep the nest in dim light and at roughly 22°C for the first 24 to 48 hours, observing without opening the lid. Successful integration is marked by slaves clustering around the queen and cleaning any eggs she may lay. If slaves show hostility, add a few freshly‑cocooned host pupae; their emergence often shifts the social dynamic in your favour. During the initial week, refrain from offering a full raid, but do add small batches of pupae every four to five days. Each successful culling of host brood reinforces the colony’s cohesion and stimulates the queen’s fertility, setting the stage for the remarkable spectacle of slave‑making ant husbandry.